Clients represent the companies or individuals you do work for. Every time entry and invoice is tied to a client, so set up your clients before you start tracking time.
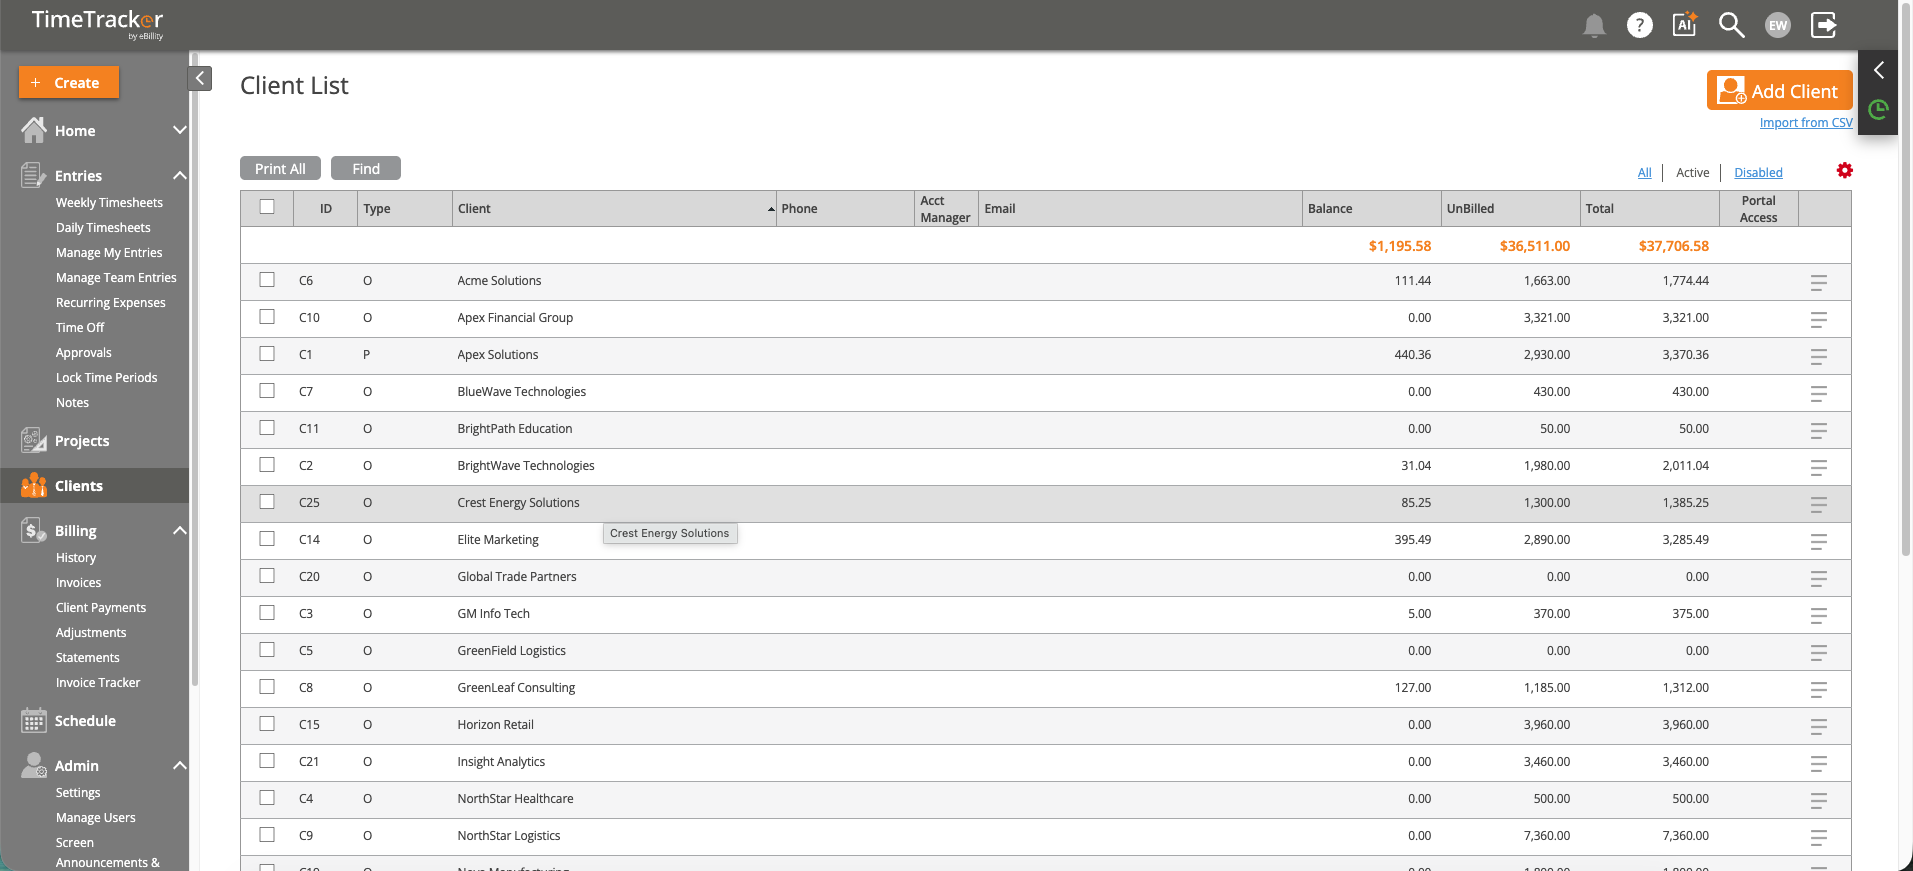
The Client List displays all clients with their balances, unbilled amounts, and totals.
Creating a Client
- Click the +Create button in the top navigation and select Client.
- The "Add New Client" form opens with several tabs along the top.
Client Information Tab (Required)
- Client ID — Auto-generated (e.g., C1, C2). Enable Custom IDs if you prefer your own numbering system.
- Client Type — Choose Person (First/Middle/Last Name fields) or Organization (single Business Name field). The form adapts based on your selection.
- Business Name / Name — The only required field. Use a name your team will recognize in dropdown menus.
- Client Account Manager — Assign a user from your firm to manage this client relationship.
- Client Group — Organize clients into groups for filtering in reports and timesheets (e.g., by industry or region).
Additional Tabs
- Address — Client's physical address. This appears on invoices.
- Main Contact — Primary contact person for the client.
- Billing Contact — The person who receives invoices, if different from the main contact. Set this to ensure invoices go to the right person.
- Activity Group — Assign an Activity Group to control which work types can be logged against this client (see "Using Activity Groups with Clients").
- Other Details — Billing rate overrides, payment terms, accounting settings, and the Non-Project Related toggle.
Click Save to save and continue editing, or Save & Close to return to the Client List. The client immediately appears in dropdown menus across timesheets, expense forms, and invoicing.