At the end of a billing cycle, you need to turn your team's tracked time and expenses into a professional invoice for the client. TimeTracker pulls the unbilled entries together so you don't have to manually calculate hours and rates — just select what to include and the invoice builds itself.
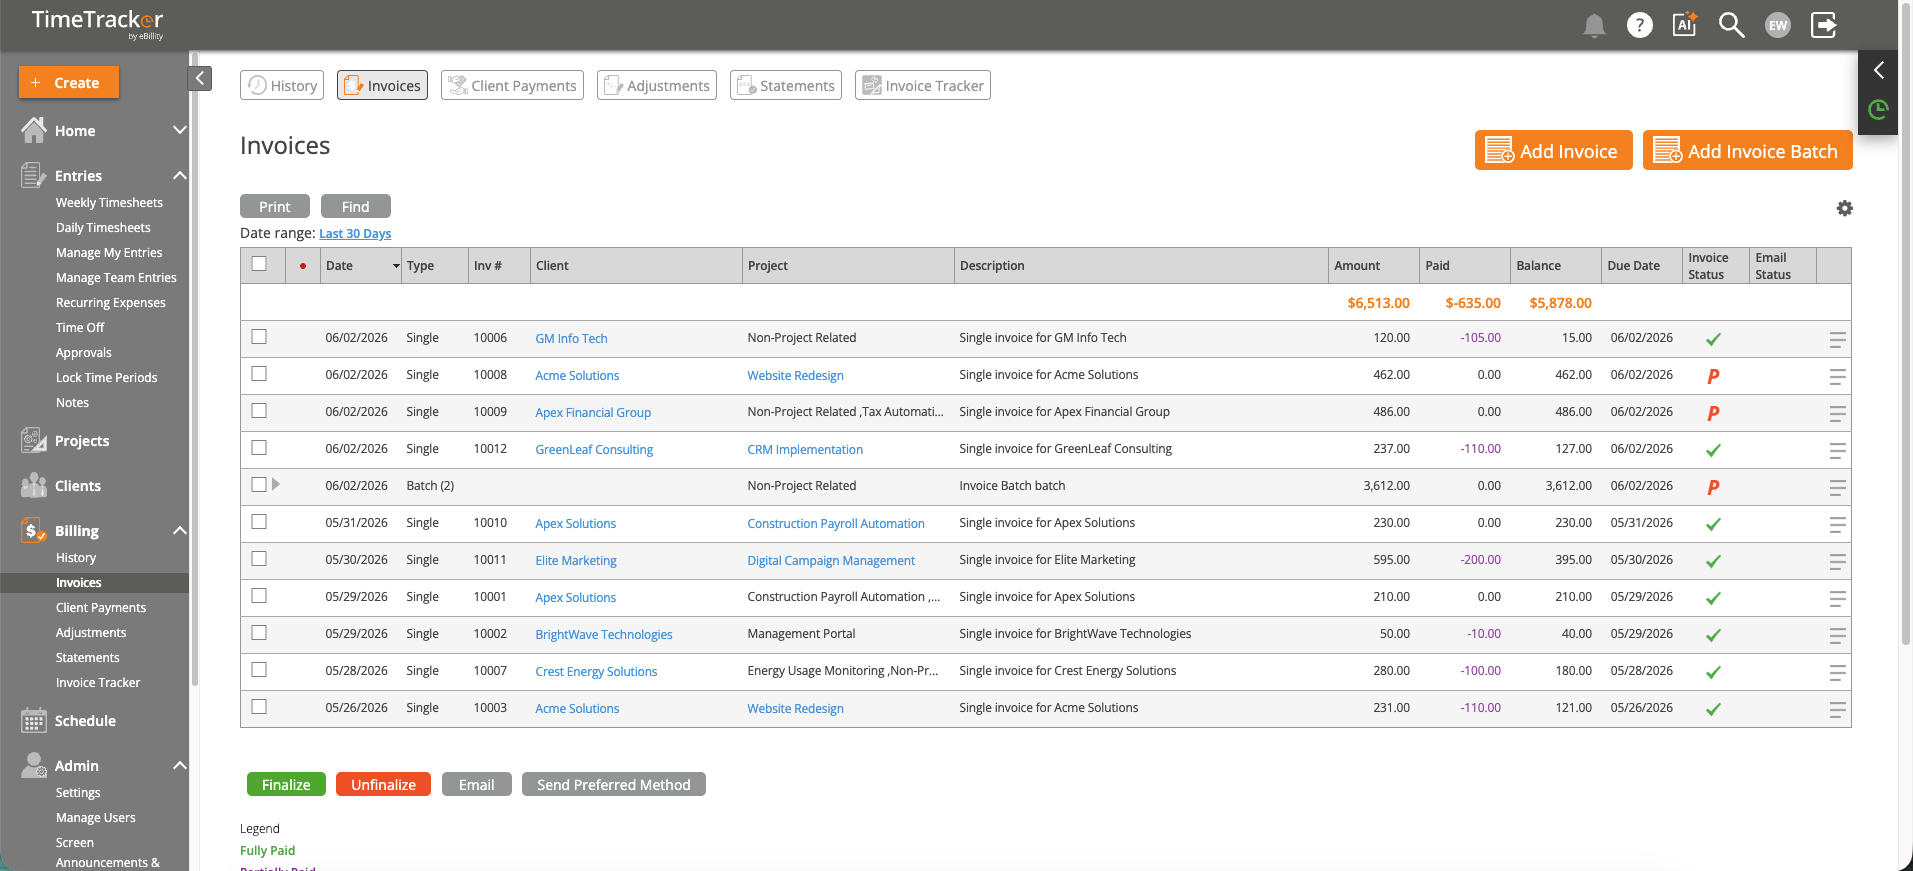
The Invoices screen shows all invoices with amounts, payment status, and email delivery status.
Creating an Invoice
- Click the +Create button and select Invoice, or go to Billing > Invoices and click New Invoice.
- Fill in the header: Invoice Date, Client (required), Payment Terms (e.g., Net 30), and optional notes.
- Click "Select Invoice Entries" to choose which time entries and expenses to include.
- Filter by project, user, or date range to find the right entries.
- Check the entries you want and return to the invoice.
Reviewing the Invoice
Before finalizing, review the invoice details:
- Verify the line items and amounts look correct.
- Check that all entries have billing rates (watch for $0.00 line items).
- Add any notes for the client or internal descriptions.
Next Steps
At this point the invoice is a draft. The entries are in "Pre-Billed" status — still editable. When you're ready to make it official, finalize the invoice (see "Finalizing and Sending an Invoice"). Finalizing locks the entries, assigns an invoice number, and makes the invoice ready to send.