When a new team member joins, getting them into TimeTracker quickly means they can start tracking time from day one. The setup takes about a minute.
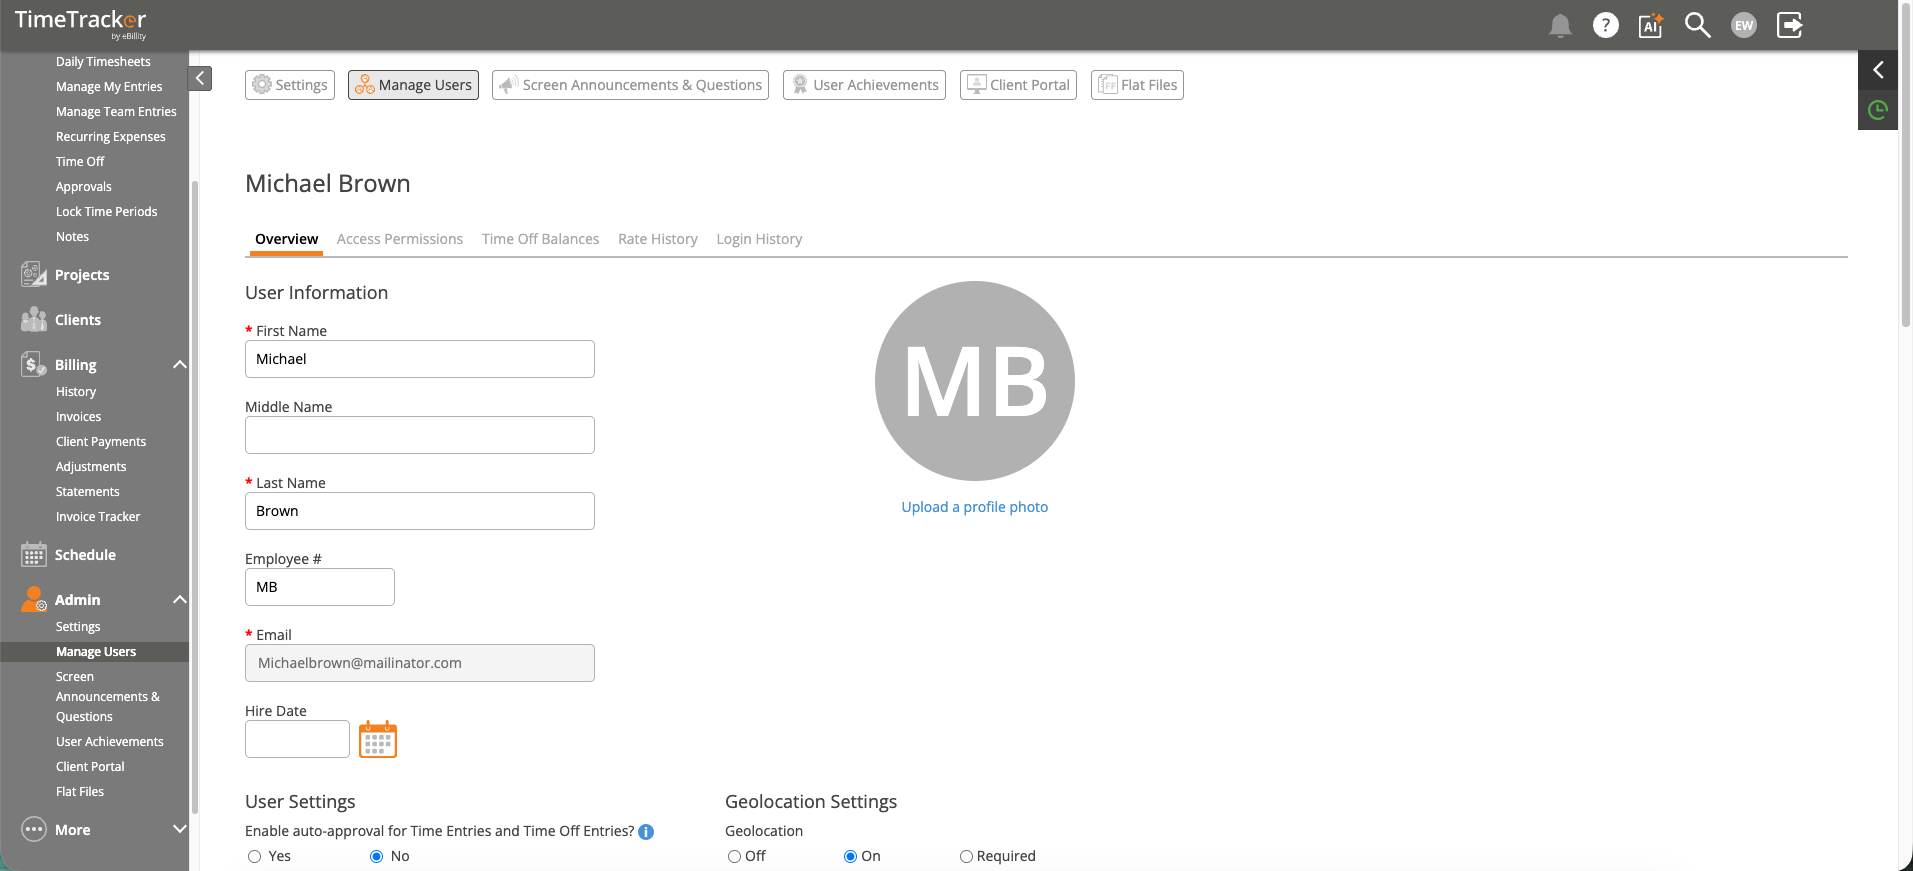
The User Profile page shows user details, settings, and configuration options.
Adding a New User
- Go to Admin > Manage Users (or use the Setup Wizard during initial setup).
- Click "Add User" or "Invite User".
- Enter the user's first name, last name, and email address.
- Assign a role: Super Admin, Admin, Manager, or Employee.
- Set their default hourly rate (prevents $0.00 invoices later).
- Click Save.
The user receives an invitation email with instructions to set up their password. They can log in as soon as they set their password.
What to Configure After Adding
- User Group — Assign them to a department or team for filtered reporting.
- Project Access — If any projects are restricted to specific users, add the new user to the relevant projects.
- Activity Groups — If you use Activity Groups, make sure the user's clients/projects have the right groups assigned so they see the correct activities.
Roles at a Glance
- Employee — Can enter their own time and expenses. Cannot see other users' data.
- Manager — Everything an employee can do, plus can view and approve team entries.
- Admin — Full access to settings, users, billing, and reports.
- Super Admin — Admin access plus account-level settings like subscription and billing.