Once payroll has been processed or invoices have been sent, the last thing you want is someone going back and changing time entries. Locking a time period puts a hard stop on edits, giving you confidence that the numbers you've already acted on won't shift.
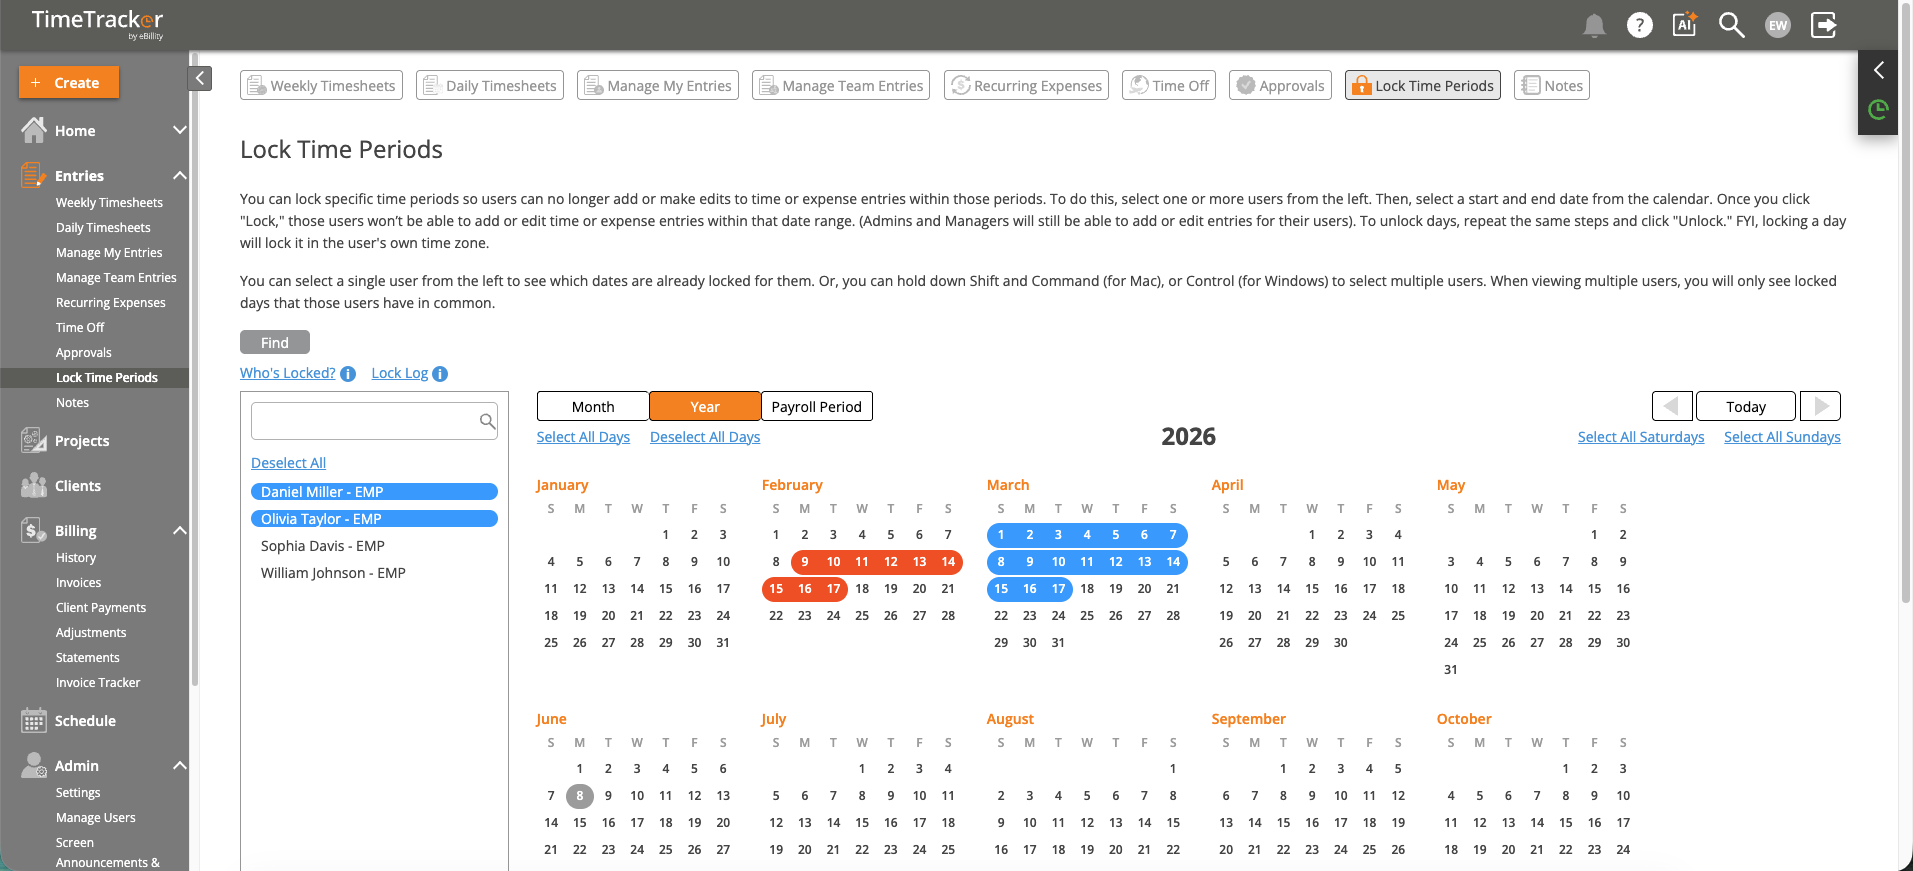
Lock Time Periods prevents users from adding or editing entries within locked date ranges.
How to Lock a Period
- Go to Admin > Settings > Lock Time Periods.
- Set the lock date — all entries on or before this date will be locked.
- Click Save / Lock.
Once locked, employees see a lock icon next to affected entries and cannot add, edit, or delete them.
Unlocking for Corrections
If a correction is needed for a locked period:
- Go to Admin > Settings > Lock Time Periods.
- Move the lock date forward (or remove it temporarily).
- Make the correction (or have the employee make it).
- Re-lock the period.
Alternatively, an admin can edit entries on behalf of an employee without unlocking the period for everyone.
When to Lock
- After payroll — Lock the pay period immediately after running payroll to prevent changes that would create discrepancies.
- After invoicing — Lock the billing period after invoices are finalized to prevent retroactive changes to billed hours.
- Month-end close — Lock the previous month at the start of each new month for clean reporting boundaries.
Best Practice: Lock time periods immediately after running payroll. This prevents accidental changes that would create discrepancies between your payroll records and TimeTracker data.